How to take the foot measurement
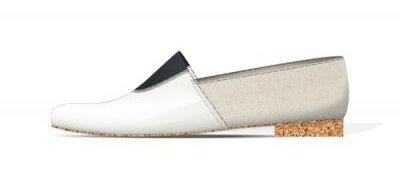
To our shoes you are happy, it should ideally sit on the leg. But for this it is necessary to choose the right size. Comfortable shoes fit not only along the length, it should also sit perfectly, fully fit in the ascent and loosen freely.
We understand that it is not always easy to understand all the parameters and correspondences between the size of shoes and feet - that's why we choose your size yourself. You only need to send us the measurements and our professionals will pick up your ideal size and confirm it by sending a special sized shoes.
Let's start measuring feet
Important: If you wear an orthopaedic insole and plan to wear your future pair with it, the volumetric measurements (c, d and e) of both feet will need to be taken twice with and without the insole.
We will also need as detailed a description of the insole as possible, its thickness at the base of the toes and at the heel.
1. Contouring your foot
Put on a flat floor clean sheet of paper. The foot must not extend beyond the paper. You sit down on a chair and put next to bet on a clean sheet of his right foot (in a sock or stocking) in such a way that in a sitting position your lower leg was at right angles to the support surface.
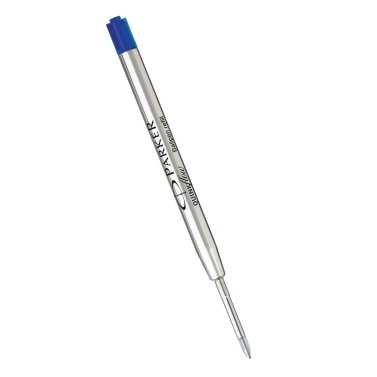
Delineation make by a slate pencil or thin rod from the handle. Pencil must touch the foot and be perpendicular to the sheet of paper. Encircle the foot round from the mid-point of the heel’s back, continuing along the inner contour to the end of the thumb. Then, carried out delineation of outer side, from the heel and ending thumb. Thus was produced a closed outer contour of the foot.
After this, we recommend changing the color of the writing instrument to circle the second contour, clearly in the place where the foot meets the sheet. If there is no second color, designate the second outline as a dotted line.
2. Measure length and width
Foot length(a) is measured from the outermost point of the heel to the end of the first or second finger.
The width of the foot (b) measured on the most convex places the inside of the foot - the internal beam (convex bone just behind the little finger), to the most convex places on the outside - external beam (convex bone at the base of the thumb). Measuring of your foot characteristics c, d & e will not cause difficulties.
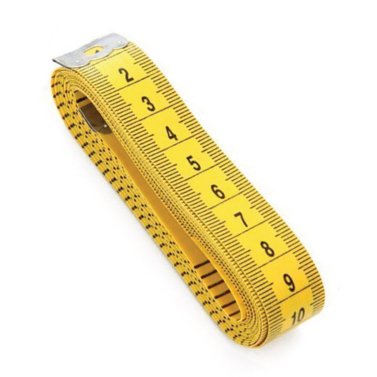
To measure your foot and lower leg is advisable to use a stretch and flexible measuring tape with millimeter divisions. Measuring tape should be applied with uniform tension, without squeezing the foot. The tape should be on the same level and do not have a straight.
3. Measure of volume in joint, lifting
To measure your foot and lower leg is advisable to use a stretch and flexible measuring tape with millimeter divisions. Measuring tape should be applied with uniform tension, without squeezing the foot. The tape should be on the same level and do not have a straight.
c
In determining the volume of the foot in the beams(с), the edge of the measuring tape must be on the inner side of the foot, location to the most convex inner beam(convex bone just behind the little finger), and on the outer side - to the most convex outer beam(convex bone at the base of the thumb).
d
The volume of the foot in rise(d) of the measuring tape imposed on the highest point of the ridge at the top of the foot part and the most concave portion at the bottom of the podsvodnoy.
e
For measuring the volume of the foot through the plies(e) and the heel band is positioned on the foot at its crease, and through the lower rear portion of the heel roundness point. Shin bottom measured at the narrowest point - above the ankle.
4. Similarly, take measurements for your left foot.
For this use a new sheet of blank paper.
5. Make a scan/photo sheet with measurements
It is necessary to make a scan/photo for the right and left foot separately.
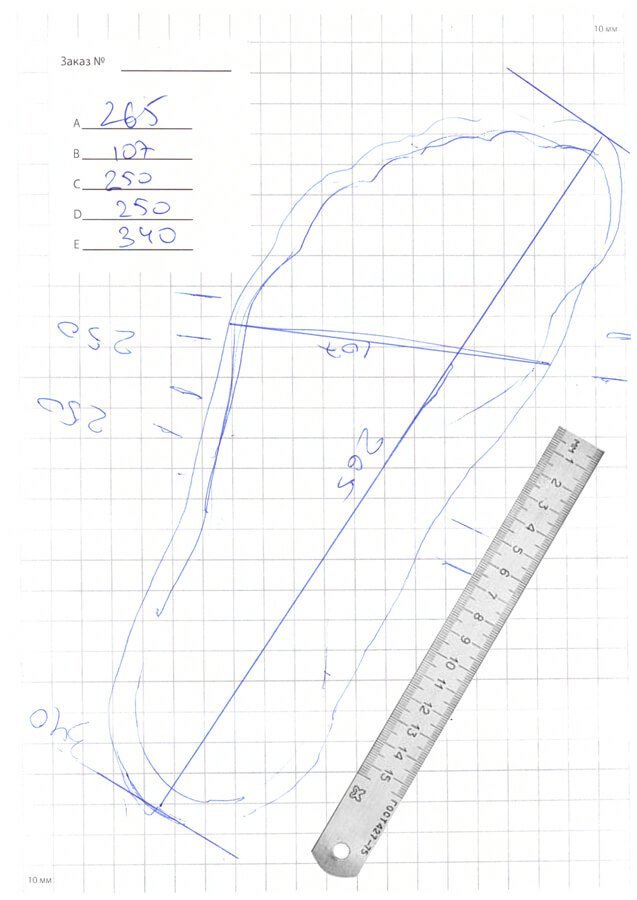
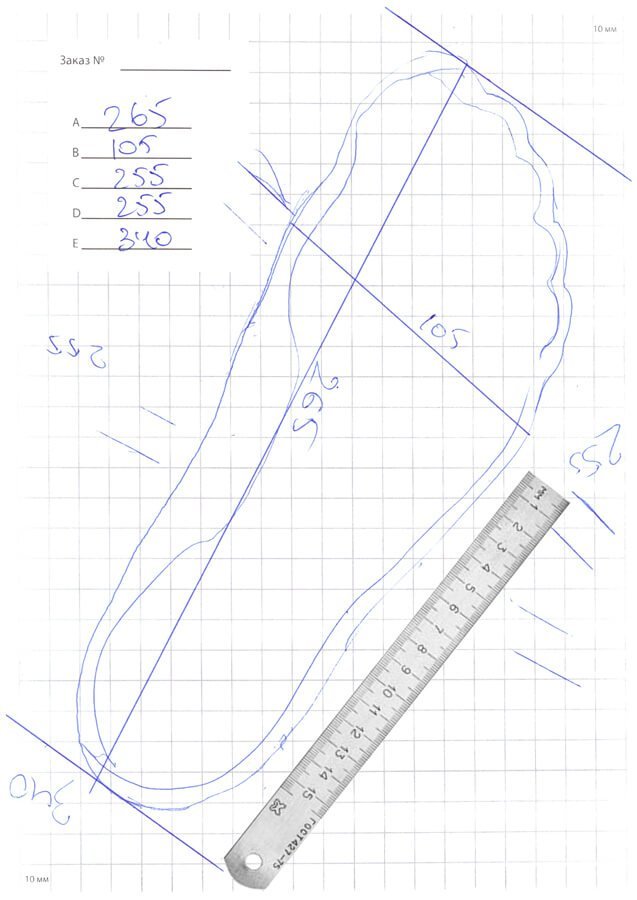
Record the measurement results, as well as data on possible deviations in the leg structure and your additional requests. Attach scans of foot contour to scale. To do this during the scan attach to the contour line.
If the scanner is not at home or at work, take a photo of the contour at an angle of 90 degrees with a ruler attached to it to minimize distortion.
6. The results of measurements - is the dimension attributes of your foot.
Send them to us in response to an order confirmation email
Scan example / photo with your foot measurements
7. After picking up the size, we will confirm it with free size shoes
The dimensional footwear is created specially for confirmation of the size. We understand that you probably take measurements for the first time and assume the possibility of inaccuracy. Size shoes will eliminate all inaccuracies and will allow you to finally determine the size of your feet. What guarantees your future comfort!
Having received the size shoes, you will have to answer clarifying questions and we are ready to launch your unique pair of shoes.

